Running Oracle 18c on MacOS
Dan Salmon
Update: May 14, 2019 This article originally contained instructions for running Oracle 12c. The Docker image that was being used was deleted by the author and so was not usable. I have updated the instructions to work again, though the image it uses now runs Oracle 18c. If you need to run 12c specifically, you’ll need to look for instructions elsewhere. Some screenshots may now be out of date.
In this post, we will go through the steps of installing Oracle 12c in a Docker container and connect to the database using SQL Developer on a Mac. This is a much lighter way of running Oracle locally compared to running a full Windows virtual machine with VMWare or Virtualbox.
1. Install Docker
- If your Mac is newer than 2010
You can simply install “Docker for Mac”.
Download and install “Docker for Mac” from here (You’ll have to create a quick account to download it. Annoying, I know)
- If your Mac is 2010 or older
You can still run Docker, but there will be a few extra steps. You’ll install a tool called “Docker Toolbox” which includes everything you need.
Download and install “Docker Toolbox” here.
2. Pull Docker image
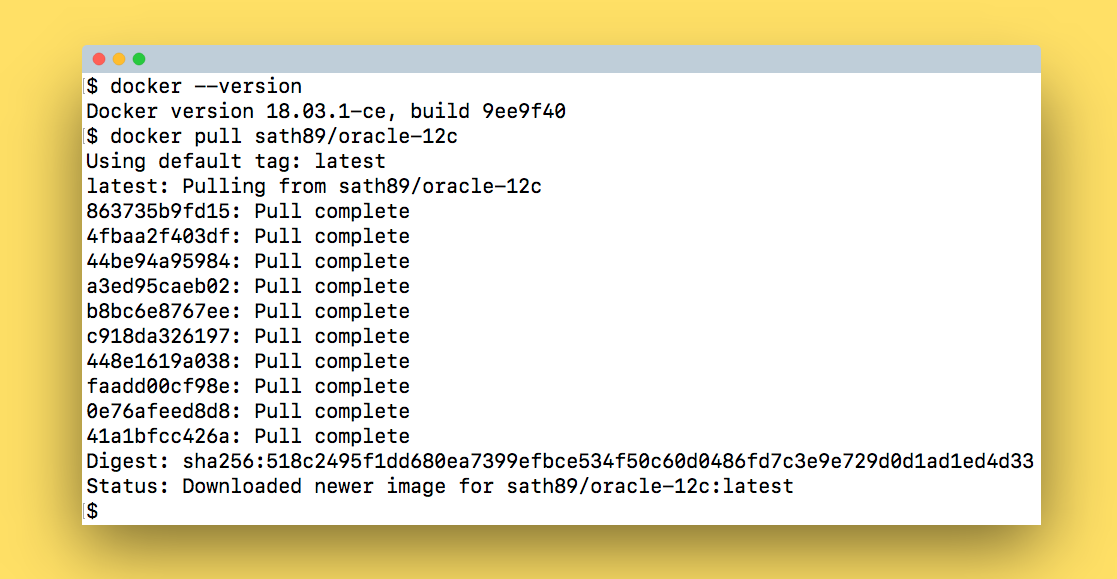
- Open the Terminal app and run the following. If you get no errors Docker is installed correctly and running.
docker version
- Pull the Oracle image by running
docker pull hothamandcheese/oracle-18.4.0-xe
3. Create container
- First we create a directory outside the Docker container to store the database
mkdir ~/oracle_data
- Then we create a new container with our downloaded image
docker run -d -p 8080:8080 -p 1521:1521 -e ORACLE_PWD='Password1' -v ~/oracle_data/:/u01/app/oracle hothamandcheese/oracle-18.4.0-xe
This should return a long hash string.
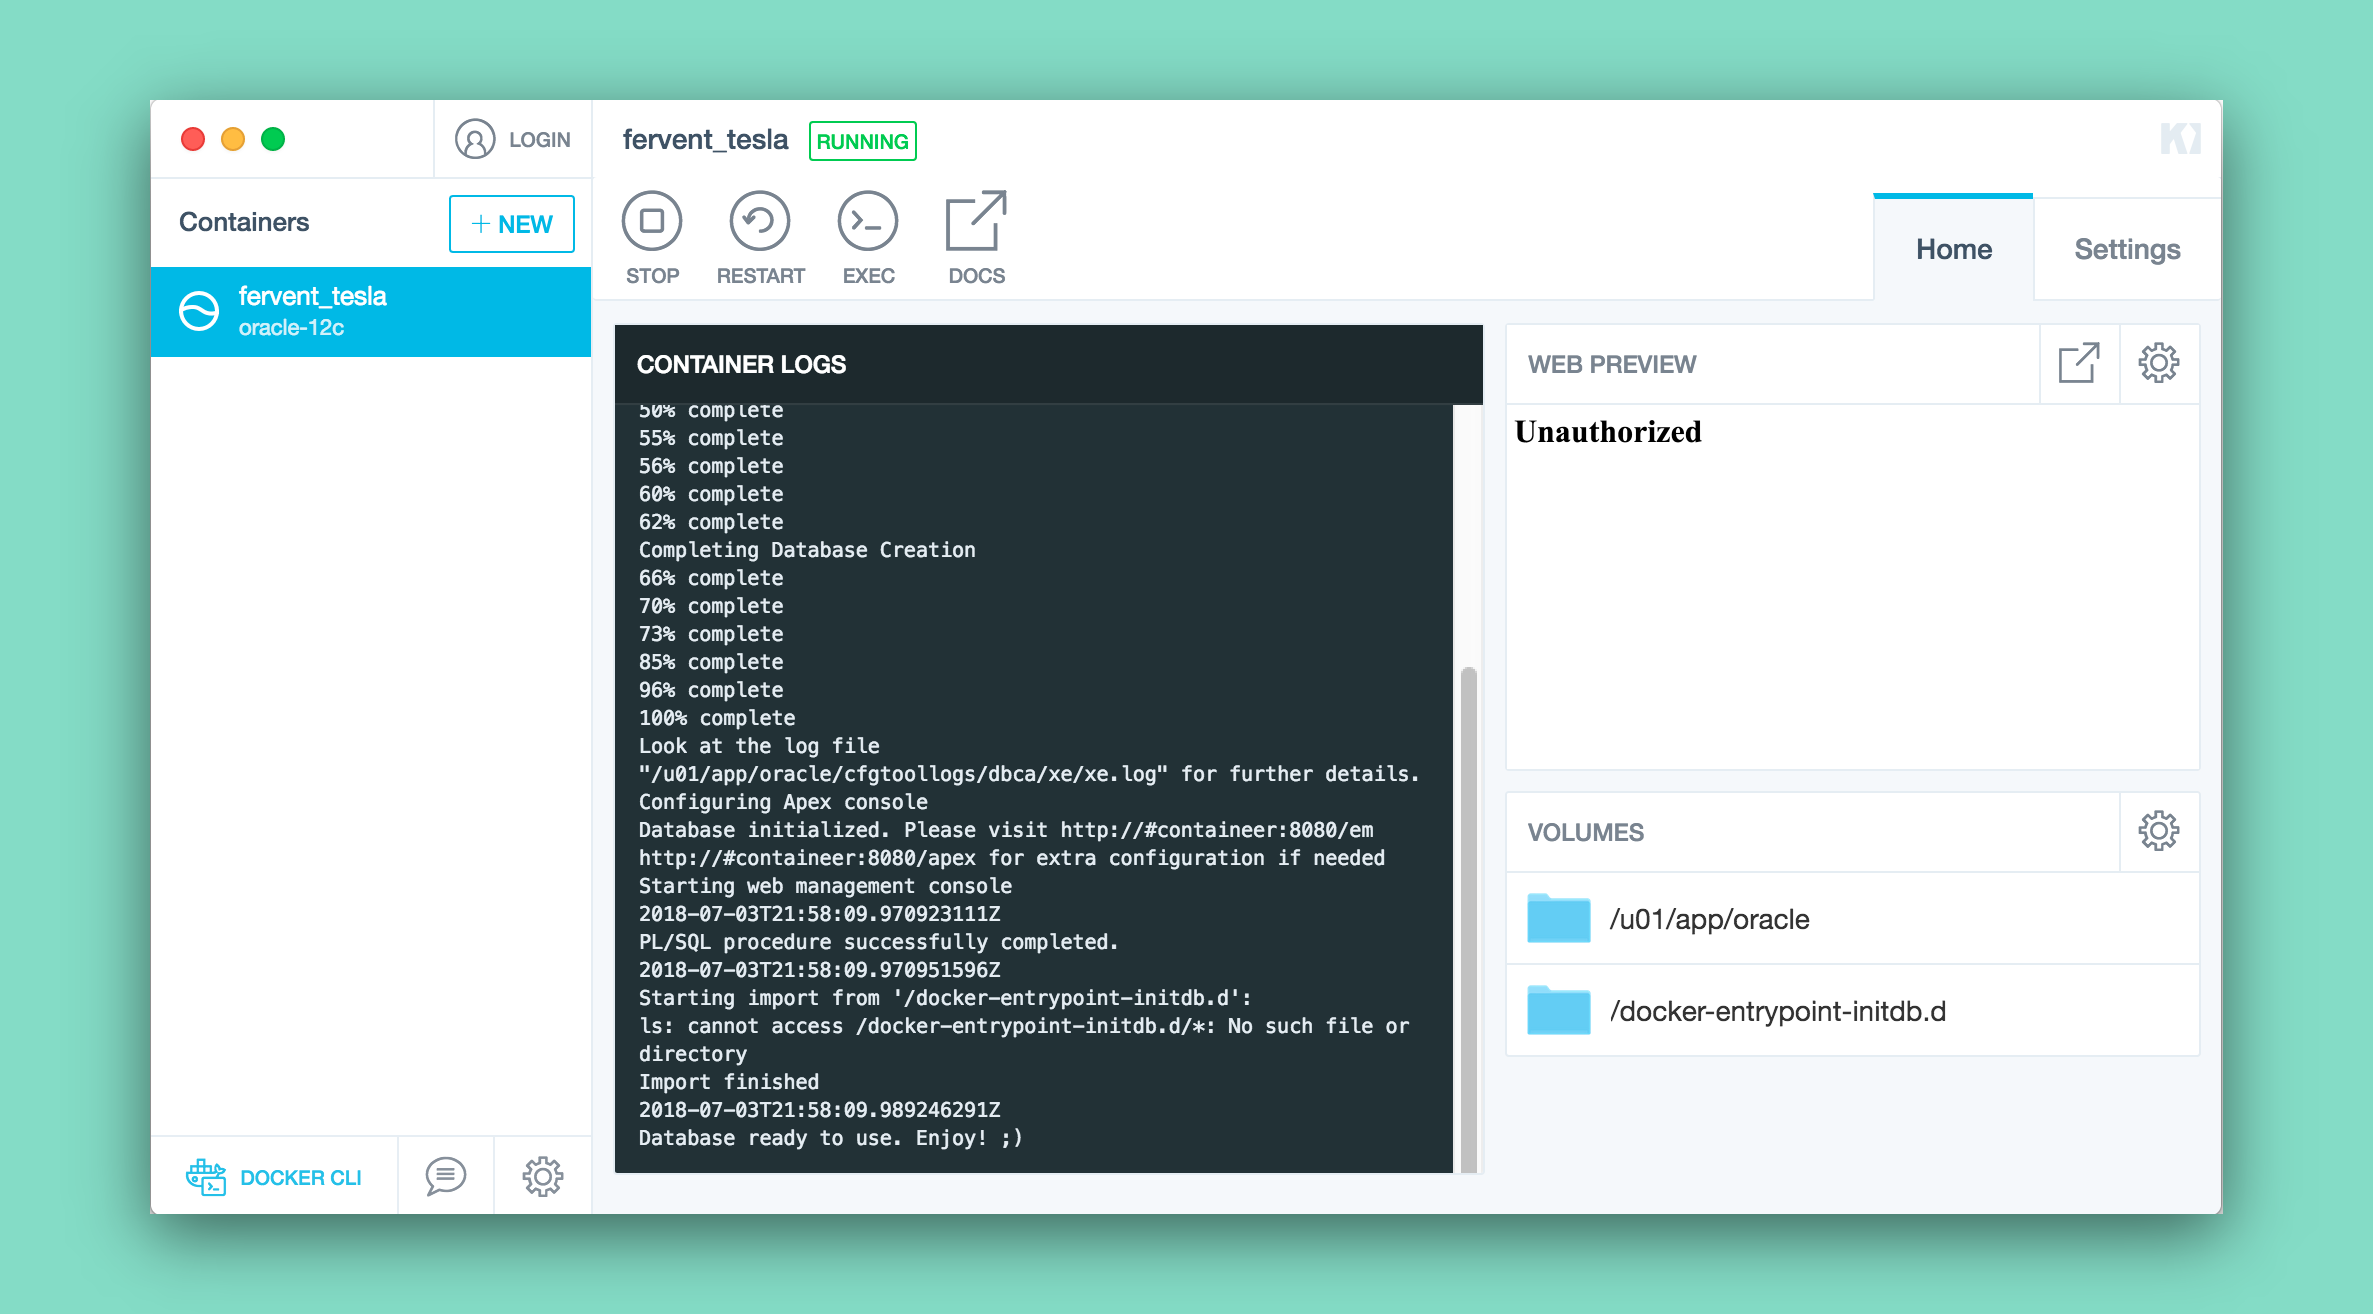
- Open Kitematic and find the container we just created.
- Click the “Start” button. The first time you start the container, it will take a 5-10 minutes for the database to build. Just wait until the log reads: DATABASE IS READY TO USE!
4. Install SQL Developer
- Head to this page, click the Agree button and hit Download. You’ll have to create a quick account to continue through the download (very annoying, I agree).
- Unzip, drag the app into the Applications folder, and fire it up
5. Connect to Oracle database
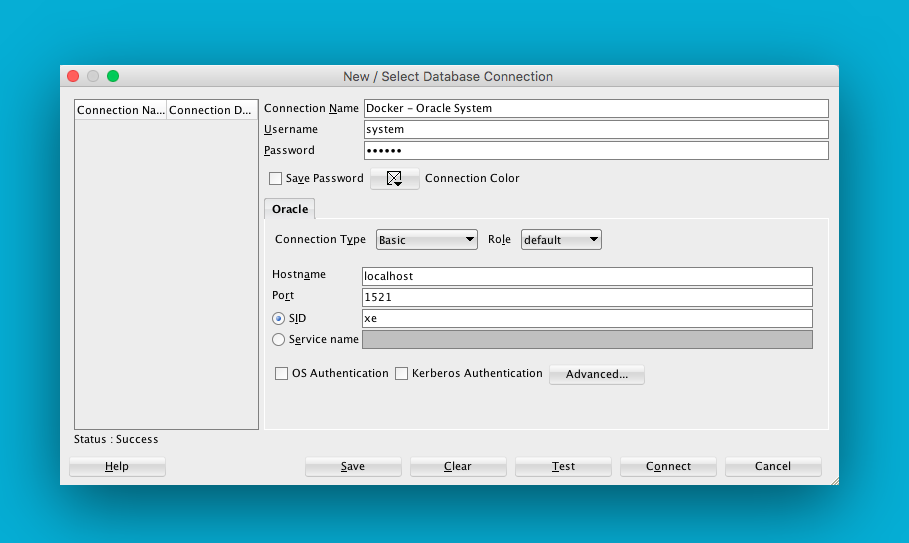
- In SQL Developer, click the green plus button to create a new connection.
- If your Mac is 2010 or older: Get the IP address of your Oracle container by opening Kitematic and switching to the Settings and then Hostname / Ports. Use this in the next step for Hostname.
- The default credentials to connect are as follows:
- Connection Name: Whatever you want. I suggest “Docker - Oracle System”
- Username: system
- Password: Password1
- Hostname: localhost
- Port: 1521
- SID: xe
- When you’ve filled all that out, hit “Test”. If the message in the lower-left corner reads “Status: Success”, you’ve done it correctly. Hit Save and then Connect. If you didn’t get a success message, double-check your IP address and username/password combination.
6. Creating new databases
- In Oracle 12c, users and databases are essentially the same thing. So to create a new database, we’ll create a new user with the following SQL queries, assuming we want to create a database with name “SALES” and password “password”. Execute the following in a SQL worksheet
Change SALES to whatever database name you want
CREATE USER SALES
  IDENTIFIED BY password
  DEFAULT TABLESPACE USERS
  TEMPORARY TABLESPACE TEMP
  QUOTA 200M on USERS;

GRANT create session TO SALES;
GRANT create table TO SALES;
GRANT create view TO SALES;
GRANT create any trigger TO SALES;
GRANT create any procedure TO SALES;
GRANT create sequence TO SALES;
GRANT create synonym TO SALES;
Potential Problems
IO Error: The Network Adapter could not establish the connection
This means that you are trying to connect with SQL Developer, but your Docker container is stopped. Open Kitematic, select your Oracle container, and click “Start”. When the logs read “Database ready to use. Enjoy! ;)”


